Stone cladding is a popular architectural feature, but many Revit users struggle to replicate it effectively in their BIM models. If you've ever wondered how to make stone cladding in Revit, you're not alone. It can be time-consuming and technically complex—unless you know the right steps. This guide will simplify the process, enhance your modeling skills, and help bring more realism and professionalism to your projects.
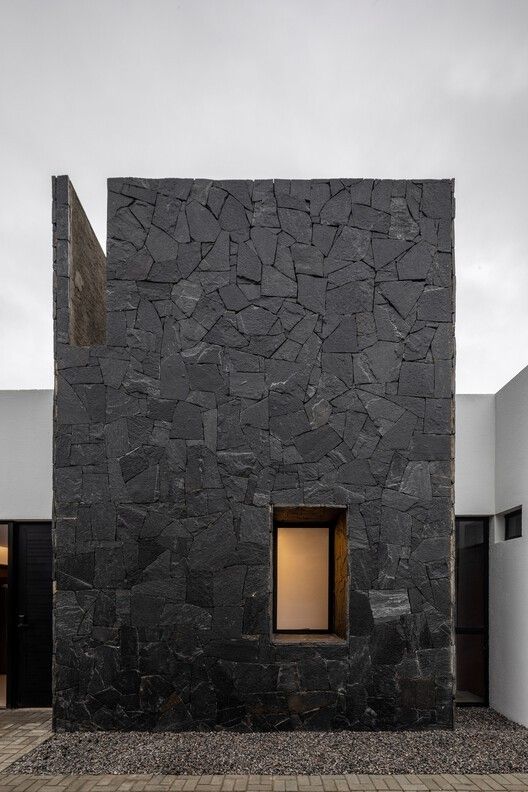
Stone cladding refers to the application of a thin layer of stone to the exterior or interior of a building to give the appearance of solid stone construction. It's used for both aesthetic and functional purposes, providing texture, depth, and durability.
Revit is a powerful BIM (Building Information Modeling) tool that allows architects, engineers, and designers to model, document, and visualize stone cladding in detailed 3D. It helps in:
| Feature | Benefit |
|---|---|
| Parametric Modeling | Easily adjust dimensions and layout |
| Material Schedules | Quantify stone materials for cost estimates |
| Visual Realism | Improve presentation and client buy-in |
| Integration with BIM | Collaborate with engineers and consultants |
Before learning how to make stone cladding in Revit, ensure you’re familiar with these essential tools:
Use Surface Patterns for floor plans and elevations:
In sections or elevations, use 2D detail components like:
These elements do not affect the 3D model but greatly enhance construction drawings.
For reusable components:
| Mistake | Solution |
| Using too high-res textures | Compress images without losing detail |
| Over-modeling 3D details | Use detail components for 2D sections |
| Ignoring material orientation | Use align tool and rotation settings |
| Not testing render settings | Use quick draft renders regularly |
To create high-quality visuals:
| Setting | Recommended Value |
| Quality | Medium to High |
| Lighting Scheme | Exterior: Sun and Artificial |
| Material Settings | Use bump and reflectivity |
| Output Resolution | 1920x1080 or higher |
| Method | Pros | Cons |
| Native Wall Layers | Easy to apply, BIM-integrated | Less visual detail |
| Curtain Walls | Good for modular facades | Requires setup time |
| In-Place Models | Great for custom facades | Not easily editable or reusable |
| Detail Components | Improves 2D detailing | No 3D representation |
| Custom Families | Reusable, parametric | Requires advanced Revit skills |
Yes. Use image files (.jpg/.png) from SketchUp and apply them in Revit’s Material Browser.
Use model surface patterns or detail components in elevations.
Use Phasing and Worksets, or export to software like Navisworks.
Learning how to make stone cladding in Revit not only enhances the realism of your architectural presentations but also boosts your confidence in managing materials, BIM workflows, and construction documentation. By using a combination of native tools, custom elements, and rendering strategies, you can achieve both performance and aesthetics without compromise.
Whether you're designing a modern office facade or a rustic residential exterior, this guide empowers you to master stone cladding in Revit—one layer, one texture, one detail at a time.