How to Install Exterior Stone Cladding: A Comprehensive Guide
Introduction
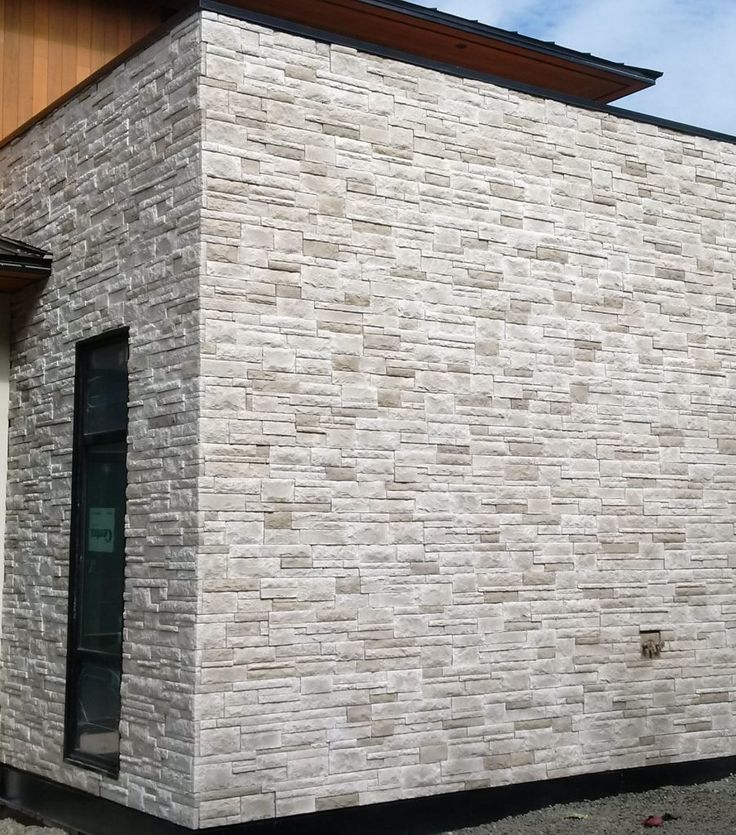
Exterior stone cladding is an excellent way to enhance the appearance and durability of your building. Whether you choose natural stone or manufactured veneer, proper installation ensures longevity and weather resistance. In this guide, we will walk you through the step-by-step process of how to install exterior stone cladding, from planning to finishing touches.
1. Planning and Preparation
1.1 Choosing the Right Stone Cladding
Before starting the installation, you must decide between:
Natural Stone Cladding: Highly durable, aesthetically appealing, but heavier and more expensive.
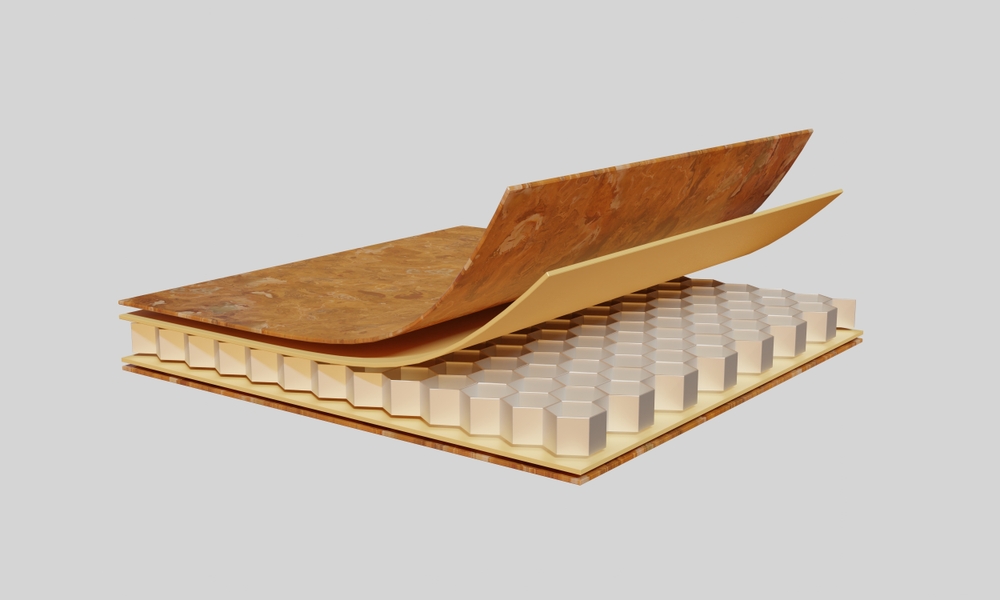
Manufactured Stone Veneer: Lightweight, cost-effective, and easier to install, though slightly less durable.
Other Factors to Consider:
Color & Texture: Should match your building's design.
Weather Resistance: Essential for humid or rainy climates.
Stone Thickness & Weight: Ensure your wall structure can support it.
1.2 Measuring the Installation Area
Accurately measure the surface where the stone cladding will be installed.
Measure the total wall area (sq. ft.).
Subtract the area of doors and windows.
Purchase 10-15% extra material for wastage and future repairs.
1.3 Required Materials & Tools
Materials
Tools
Stone cladding
Masonry saw or grinder
Weather-resistant barrier (WRB)
Trowels (notched & flat)
Metal lath (for non-masonry surfaces)
Level & measuring tape
Scratch coat mortar
Grout bag & pointing tool
Bonding mortar or adhesive
Wire brush & sponge
Sealer (optional)
Safety gear (gloves, glasses, mask)
2. Surface Preparation
Proper surface preparation ensures the stones adhere properly and remain secure over time.
Attach the metal lath over WRB using corrosion-resistant screws.
Ensure edges overlap by 1 inch.
The lath should feel rough when running a hand upward.
Apply a Scratch Coat:
Spread a ½-inch layer of mortar over the lath.
Score the surface with horizontal grooves.
Allow 24 hours to cure.
3. Installing the Stone Cladding
3.1 Dry Laying the Stones
Arrange stones on the ground in the desired pattern.
Mix colors and textures for a natural look.
Cut oversized pieces as needed.
3.2 Applying Mortar or Adhesive
Mortar Installation:
Apply mortar to the back of each stone (buttering method).
Press firmly and wiggle slightly for adhesion.
Adhesive Installation:
Apply construction-grade adhesive using a caulking gun.
Press stone into place and hold for a few seconds.
3.3 Placing the Stones
Start from the Bottom:
Begin at the bottom corner and work upward.
Use a level to maintain alignment.
Placing in a Staggered Pattern:
Avoid aligning vertical joints.
Adjust for a natural look.
Trimming and Cutting Stones:
Use a masonry saw for precise cuts.
For corners, cut at 45-degree angles.
4. Grouting and Finishing
4.1 Filling Joints with Grout (If Required)
Use a grout bag to fill gaps.
Avoid overfilling to maintain a natural look.
Smooth with a pointing tool.
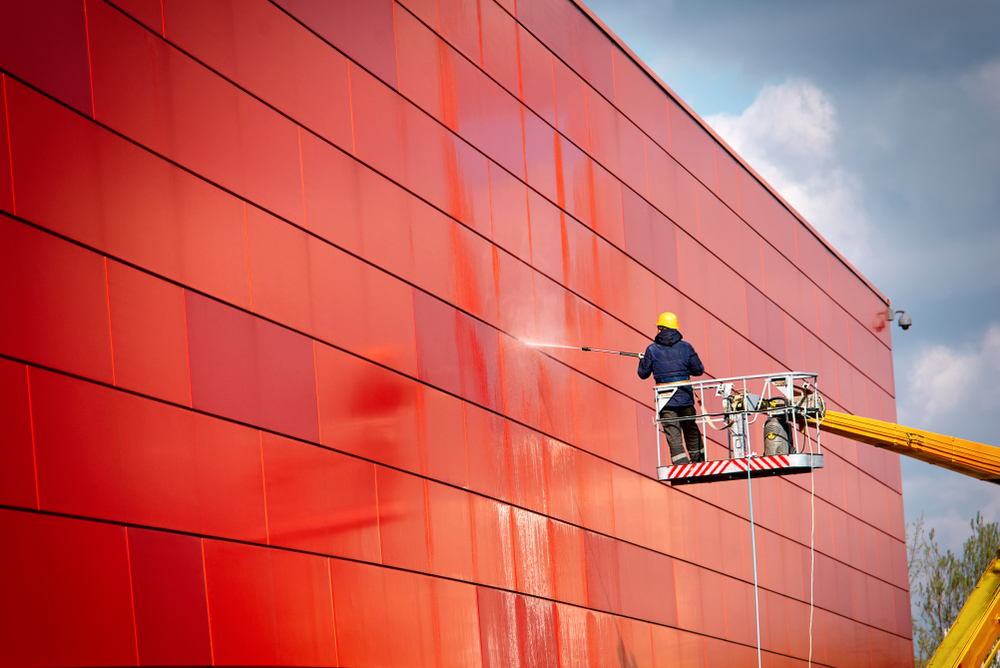
4.2 Cleaning Excess Mortar
Wipe off excess before it dries using a damp sponge.
Avoid excessive water to prevent weakening mortar.
4.3 Sealing the Stone (Optional)
Apply a stone sealer to protect against stains and moisture.
Recommended for high-moisture areas.
5. Curing and Maintenance
5.1 Allow Curing Time
Let installation cure for at least 48 hours before exposure to rain.
Avoid touching or disturbing stones during this period.
5.2 Regular Maintenance
Inspect for Loose Stones: Repair detached pieces immediately.
Clean with Mild Soap & Water: Avoid harsh chemicals.
Re-seal Every 2-3 Years: Enhances durability.
6. FAQs
Q1: How long does it take to install exterior stone cladding?
On average, 3-7 days, depending on project size and complexity.
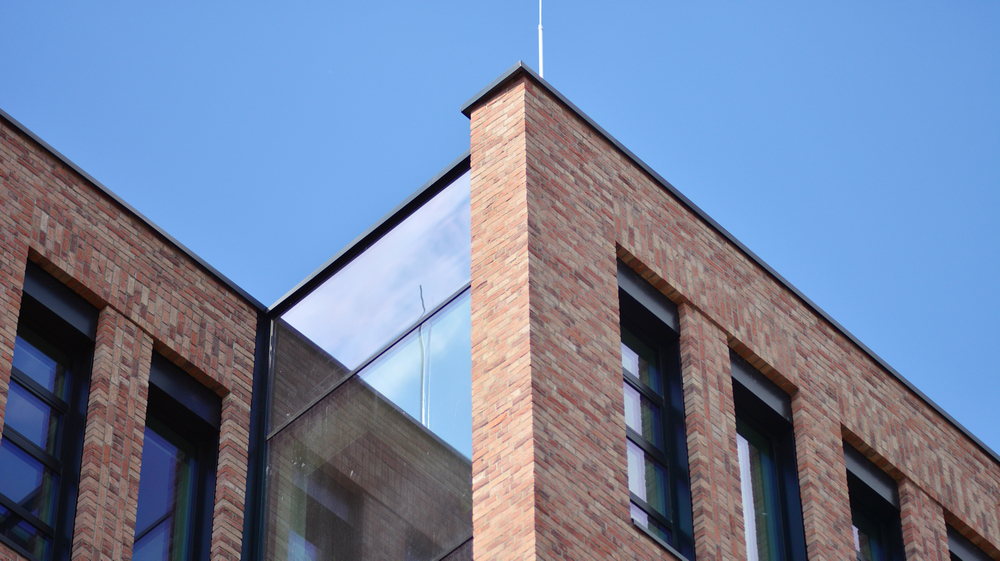
Q2: Can I install stone cladding over existing brick?
Yes, but ensure surface is cleaned and roughened before applying mortar.
Q3: Do I need a professional to install stone cladding?
DIY is possible, but hiring a professional ensures a high-quality finish.
7. Conclusion
Installing exterior stone cladding enhances your home's aesthetics and durability. By following this step-by-step guide, you can achieve a professional and long-lasting finish. Proper planning, precise execution, and routine maintenance will ensure your stone cladding remains beautiful and durable for years to come.