How to Fix Stone Cladding to Wall: A Comprehensive Guide
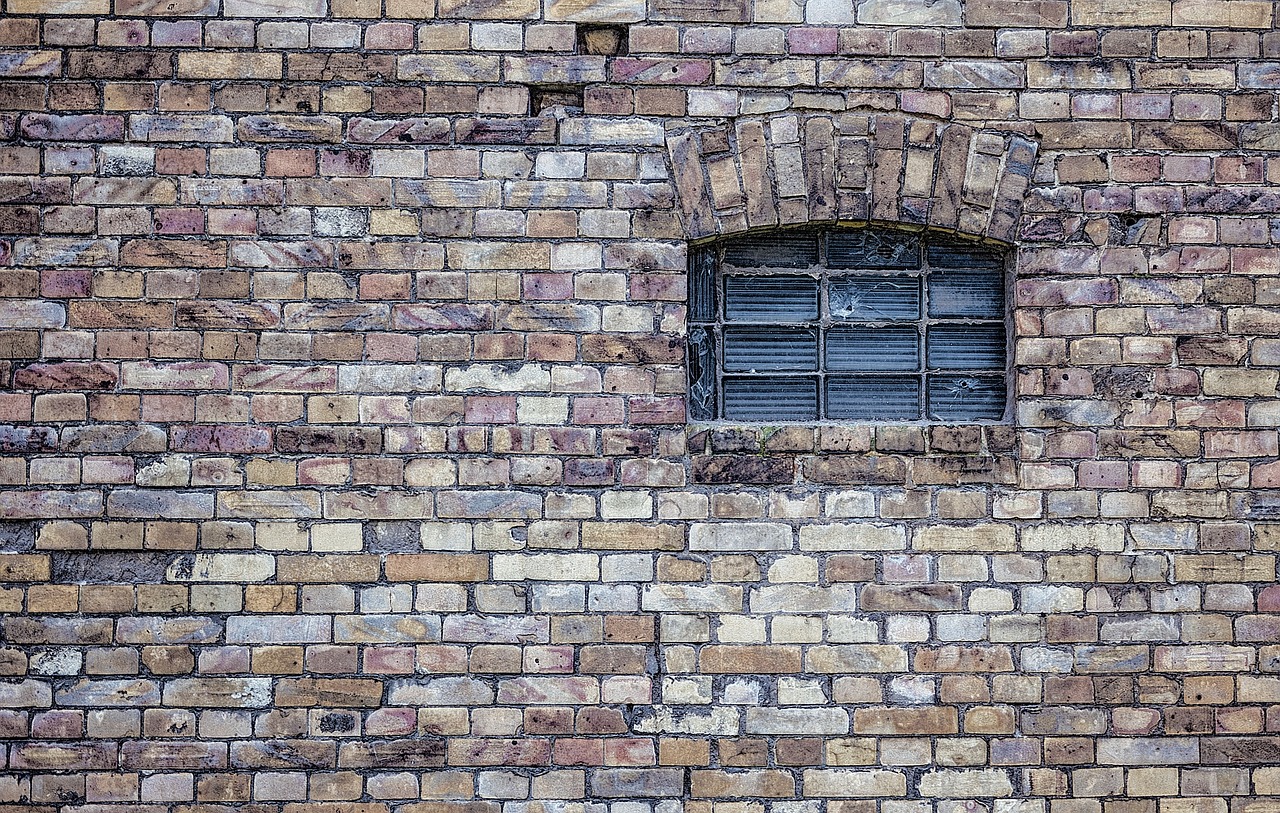
Stone cladding is a timeless and elegant way to enhance the appearance of walls, whether indoors or outdoors. Its popularity stems from its ability to provide a natural, sophisticated look that complements a variety of architectural styles, as noted by many architectural design studies and practices. This guide will walk you through how to fix stone cladding to a wall effectively, ensuring durability and visual appeal. From preparation to finishing touches, we cover every step in detail.
Why Choose Stone Cladding?
Stone cladding offers numerous benefits:
Aesthetic Appeal: Natural or manufactured stone provides a sophisticated look.
Durability: With proper installation, stone cladding can last for decades.
Weather Resistance: Suitable for outdoor applications with minimal maintenance.
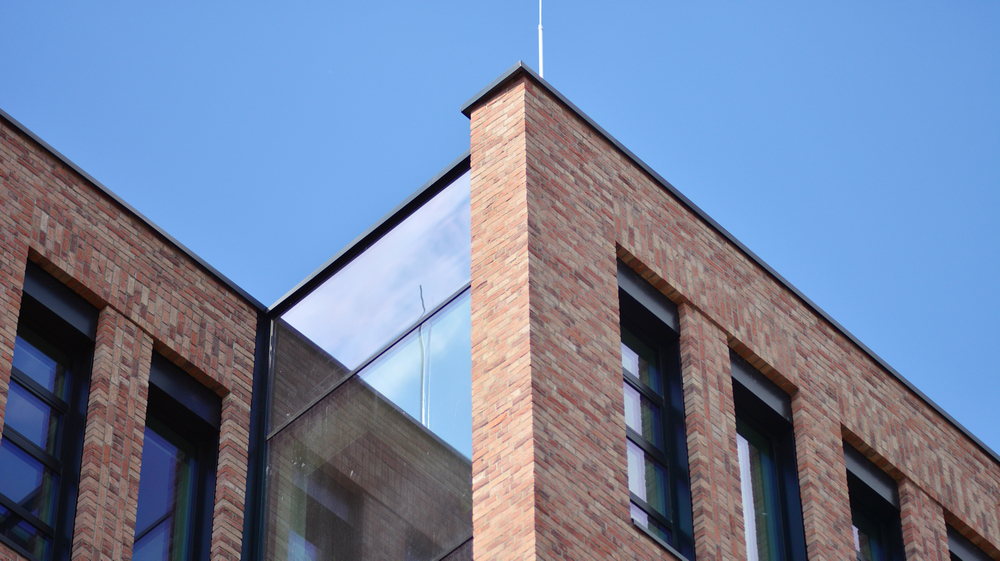
Versatility: Can be used on interior feature walls, fireplaces, or external facades.
Step 1: Prepare the Wall
Proper wall preparation is critical to the success of your stone cladding project. Without adequate preparation, issues such as poor adhesion, moisture penetration, or uneven surfaces can compromise the durability and appearance of the cladding. For example, failing to clean the wall thoroughly may result in the adhesive not bonding properly, leading to stones becoming loose over time.
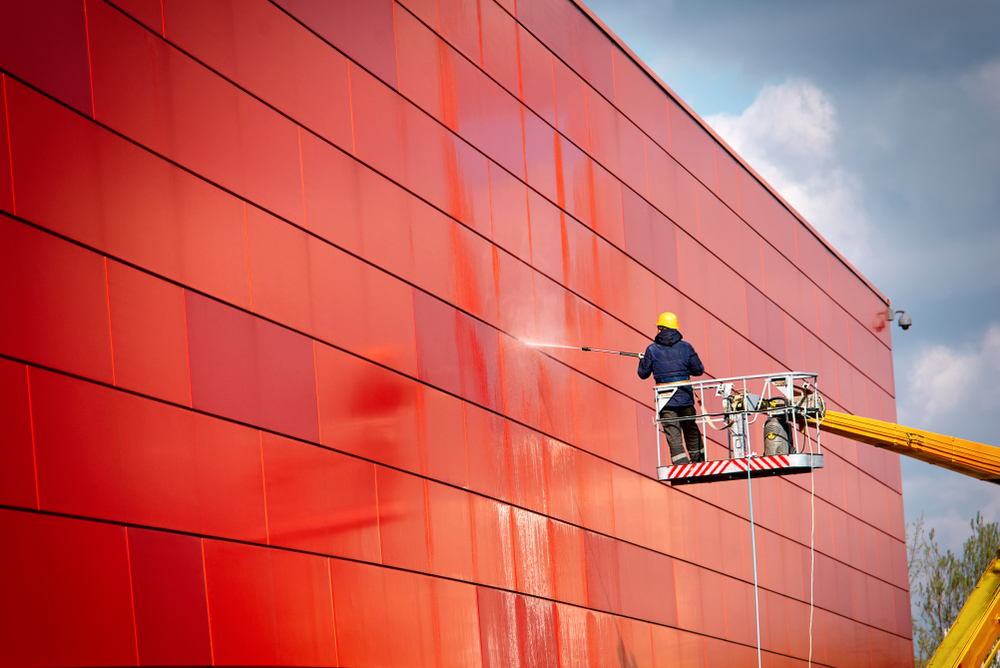
Clean the Surface
Remove dirt, dust, grease, and any loose materials from the wall.
For painted or plastered walls, use a stiff brush or pressure washer to clean thoroughly.
Ensure the surface is roughened if smooth, as this aids adhesion.
Check for Structural Integrity
Inspect the wall for cracks or weak spots that could compromise the cladding's stability.
Reinforce or repair the wall if necessary.
Apply Waterproofing
For exterior walls, apply a waterproofing membrane to prevent moisture penetration.
Allow the waterproofing to dry fully before proceeding.
Step 2: Select the Adhesion Method
Choosing the right method to fix stone cladding to the wall depends on the material type and application area. For instance, mechanical fixing is ideal for large, heavy stones or external walls where additional strength is needed, while mortar or adhesive fixing works well for lighter stones in indoor settings such as fireplaces or feature walls.
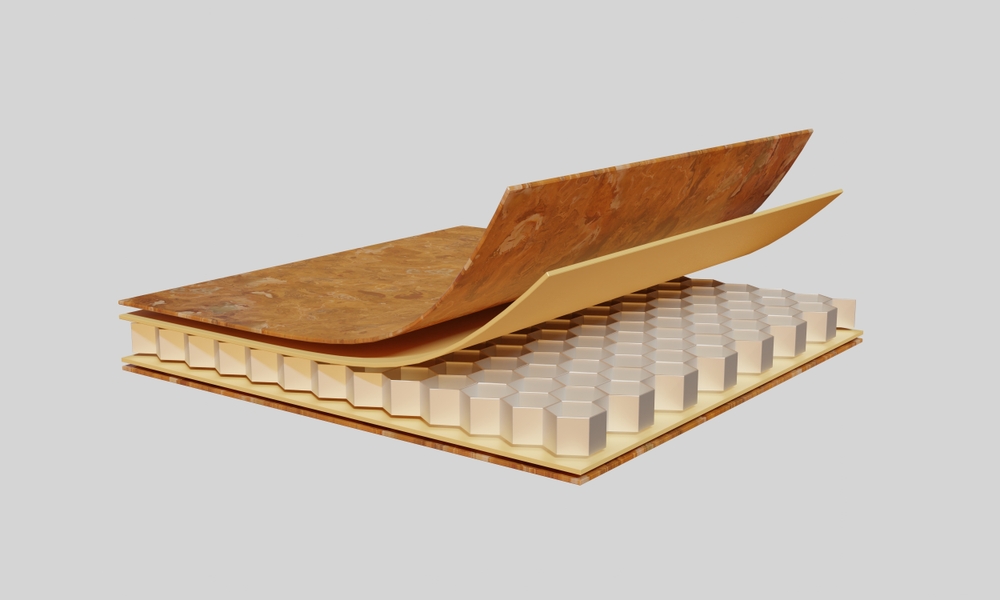
Mechanical Fixing
Best for heavy or large stone cladding, especially on external walls.
Uses metal brackets, anchors, or subframes to secure the stone.
Offers high strength and is ideal for ventilated facades.
Mortar or Adhesive Fixing
Suitable for lighter cladding or indoor applications.
Use high-quality tile adhesive, epoxy, or cement-based mortar.
Ensure compatibility between the adhesive and the type of stone.
Step 3: Prepare the Stone Cladding
Cutting and Shaping
Use a wet saw or diamond blade grinder to cut stones to the required size and shape. Always wear safety goggles, gloves, and a dust mask to protect yourself from debris and dust. Ensure the work area is well-ventilated and keep tools away from flammable materials.
Smooth rough edges to enhance safety and aesthetics.
Dry Layout
Arrange the stones on the ground to determine the layout and pattern.
Mark positions for each stone to ensure consistency during installation.
Step 4: Install the Cladding
Step-by-Step Installation
1. Mark Guidelines
Draw horizontal and vertical guidelines on the wall for precise alignment.
2. Apply Adhesive or Mortar
Spread adhesive or mortar on a small section of the wall using a notched trowel.
Back-butter the stone (apply adhesive on its backside) for a stronger bond.
3. Place Stones
Start at the bottom and work upwards to ensure proper weight distribution.
Press each stone firmly into place, wiggling slightly to eliminate air pockets.
Use spacers for uniform gaps if grouting is required.
4. Check Levels
Use a spirit level frequently to maintain alignment.
Special Considerations
Large or heavy stones may require additional mechanical support or anchors.
Step 5: Grout the Joints (If Necessary)
Filling Joints
Use grout to fill the gaps between stones if the design requires it.
Apply grout with a float, ensuring it penetrates the joints fully.
Cleaning Excess Grout
Wipe excess grout from the stone surface using a damp sponge before it dries.
Step 6: Seal the Stone
Sealing protects stone cladding from moisture, stains, and weathering.
How to Apply Sealer
Clean the stone surface thoroughly before sealing.
Apply a stone-specific sealer using a brush, roller, or sprayer.
Allow the sealer to dry completely as per manufacturer instructions.
Step 7: Curing and Finishing
Curing
Allow the adhesive and grout to cure for 24-48 hours or as recommended.
Final Cleaning and Inspection
Clean the stone surface with a soft cloth or mild cleaner.
Inspect for loose stones or gaps and address any issues immediately.
Tools and Materials Needed
Tools
Tool
Purpose
Notched Trowel
To apply adhesive or mortar evenly
Wet Saw/Grinder
To cut and shape stone cladding
Spirit Level
To ensure alignment
Grout Float
To fill joints with grout
Spacers
To maintain uniform gaps
Materials
Material
Purpose
Stone Cladding
Primary decorative material
Adhesive/Mortar
To bond cladding to the wall
Waterproof Membrane
To protect against moisture
Grout
To fill gaps between stones
Stone Sealer
To protect against stains and weathering
Additional Tips for Success
Start Small: Work on small sections of the wall to ensure precision.
Monitor Temperature: Avoid installing in extreme heat or cold.
Consult Experts: For large or challenging projects, consult a professional mason or structural engineer.
Use Quality Materials: Invest in high-grade adhesives, grouts, and sealers for long-lasting results.
Ensure Proper Drainage: For outdoor installations, design for effective water runoff.
Applications of Stone Cladding
Application Area
Common Uses
Indoor Walls
Fireplaces, feature walls, accent areas
Outdoor Facades
Building exteriors, garden walls
Commercial Spaces
Reception areas, statement walls
FAQs
How do I choose the right adhesive for stone cladding?
The adhesive should be compatible with the type of stone and the wall material. For natural stones, a cement-based or epoxy adhesive is often recommended.
Can I install stone cladding on drywall?
Yes, but the drywall must be reinforced to bear the weight of the stone.
How often should I reseal stone cladding?
Resealing should be done every 2-3 years or as recommended by the sealer manufacturer. This helps maintain the protective barrier against moisture, stains, and weathering, which can otherwise cause discoloration, cracking, or structural degradation over time.