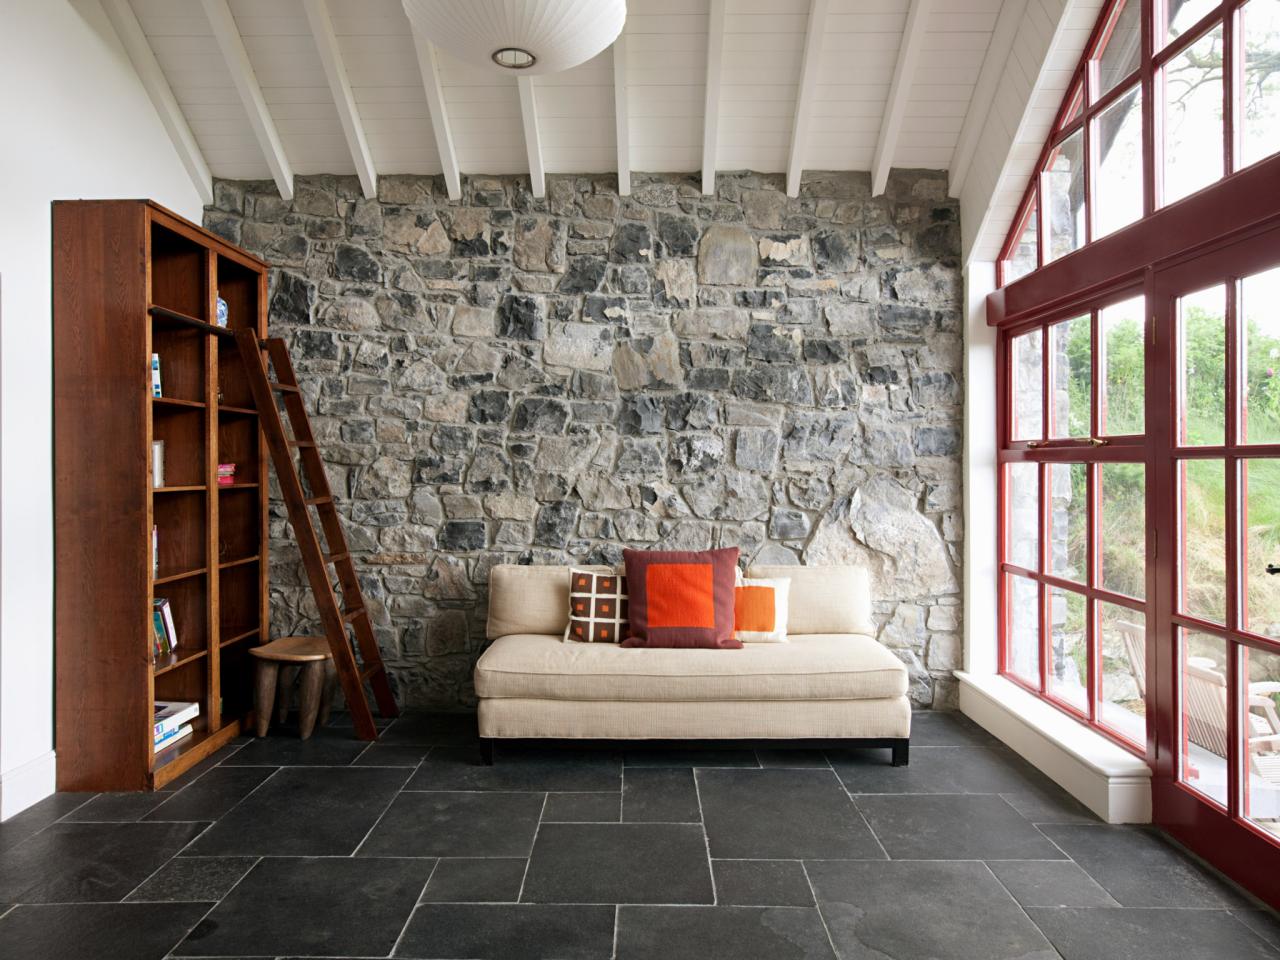
Cladding a wall in stone is a fantastic way to add natural beauty, texture, and durability to your home’s interior or exterior. Whether you want to create a rustic living room feature or boost your home’s curb appeal, stone cladding offers a timeless and elegant look that suits many architectural styles. This comprehensive guide will walk you through the entire process of how to clad a wall in stone, using simple language and clear steps so anyone can follow along.
Stone cladding involves attaching thin layers or panels of natural or manufactured stone to a wall surface. Unlike full stone walls, cladding is lighter and easier to install, yet still gives the authentic look and feel of stone. It can be used indoors or outdoors, on walls, fireplaces, facades, and even garden features.
Before starting, gather these essentials:
Measure the height and width of the wall to calculate how many stone panels or slips you need. Remember to add about 10% extra for cuts and mistakes. If your wall has corners, measure those separately to order corner pieces. For example, each panel might cover 2 square feet, so multiply your wall area accordingly3.
Make sure the wall is clean, dry, and free from loose paint or dust. For exterior walls, apply a waterproofing membrane and primer to help the adhesive stick better and protect against moisture9. If you’re installing above ground level, paint the lower part of the wall a color similar to your stone to hide any gaps under the cladding3.
Follow the manufacturer’s instructions to mix your cement-based adhesive or mortar to the right consistency — not too thick or runny. This ensures the stone cladding will stick firmly and last a long time. Be mindful of weather conditions, as extreme heat or cold can affect drying times1.
Use a notched trowel to spread adhesive evenly on small sections of the wall, working in areas you can complete in 20–30 minutes to avoid drying out. For thicker stone panels, also apply adhesive to the back of each stone for extra grip15.
Start from one side of the wall and press each stone firmly onto the adhesive. Use a spirit level to keep stones aligned and level. Leave small gaps between stones for grouting later. The first row is critical as it sets the base for the rest of the wall, so take your time to get it right35.
Work row by row, staggering the joints like a brick pattern for a natural look. Cut stones as needed to fit spaces using a wet saw or angle grinder. Always wear gloves and eye protection when cutting stone to avoid injury57.
After all stones are in place and the adhesive has dried (usually 24 hours), fill the gaps between stones with grout. Use a small brush or grout float to apply grout evenly, then wipe off excess with a damp sponge. Once the grout is dry, apply a sealant suitable for your stone type to protect and enhance the finish59.
| Stone Type | Appearance | Best For | Installation Notes |
| Natural Stone Slips | Rustic, authentic | Both interior & exterior | Requires cutting, heavier |
| Manufactured Stone | Uniform, lightweight | Interior walls | Easier to install, less durable |
| Thin Stone Veneer | Natural look, thin | Exterior facades | Needs strong adhesive, waterproofing |
Cladding a wall in stone is a rewarding DIY project that transforms your space with natural beauty and texture. By carefully measuring, preparing, and installing stone panels with the right tools and techniques, you can achieve a professional-looking finish that lasts for years. Remember to take your time, follow safety precautions, and enjoy the process of turning a plain wall into a stunning stone feature.
For detailed tutorials and product recommendations, you can explore resources like The Stone Evolution’s guide on stone cladding installation1, or watch practical installation videos on YouTube24.