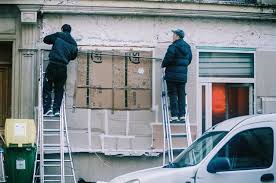
Removing stone cladding can be a challenging yet manageable task, depending on the type of cladding, installation method, tools available, and your expertise. Whether you’re considering a home renovation, repairing damage, or changing the aesthetics of your building, understanding the nuances of removing stone cladding is crucial. This article will explore the process in detail, addressing factors that influence the ease of removal, tools and techniques required, and safety considerations. We'll also include helpful lists, tables, and charts to make the process clearer and more actionable.
Before diving into the removal process, it’s important to understand the common reasons for removing stone cladding:
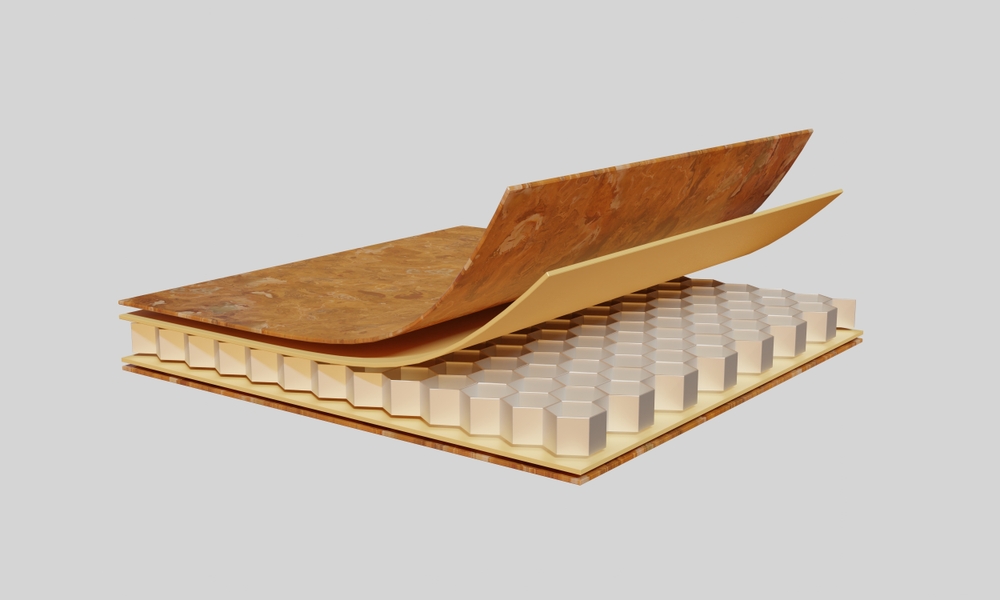
The material and design of the stone cladding significantly affect the removal process:
| Type of Stone Cladding | Characteristics | Ease of Removal |
| Natural Stone (e.g., granite) | Heavy, durable, often bonded with mortar | Difficult |
| Manufactured Stone Veneer | Lightweight, fragile, usually adhesive-bonded | Moderate |
| Panelized Systems | Interlocking panels with mechanical anchors | Easier |
| Faux Stone | Thin, lightweight, adhesive-fixed | Moderate |
The way the cladding was installed directly impacts how easy it is to remove:
The substrate (e.g., drywall, concrete, plywood) affects the difficulty of removal. Adhesive removal can damage softer substrates like drywall, while more robust materials like concrete are less affected.
Having the right tools and understanding the appropriate techniques can significantly simplify the process. Below is a detailed list of essential tools and their uses:
| Tool | Purpose |
| Hammer and Chisel | Breaking mortar or adhesive bonds |
| Pry Bar | Levering panels off the substrate |
| Grinder with Diamond Blade | Cutting through stone or mortar |
| Rotary or Demolition Hammer | Breaking heavily bonded mortar |
| Oscillating Multi-Tool | Accessing tight areas or precise cutting |
| Safety Gear (goggles, mask) | Protecting against dust and debris |
Locate a loose edge or corner to begin. If starting from scratch, gently chisel around the edge to expose the cladding system.
For large or stubborn stones, use a grinder to cut into smaller, manageable pieces.
After the cladding is removed, scrape off any remaining adhesive or mortar using a scraper or grinder.
Despite careful planning, challenges may arise:
The time and cost involved in removing stone cladding vary depending on the factors mentioned earlier. Below is an approximate guide:
| Type of Cladding | Time Required (per sq. ft.) | Cost (DIY) | Cost (Professional) |
| Natural Stone | 1-2 hours | $5-$10 | $15-$25 |
| Manufactured Stone Veneer | 30-60 minutes | $3-$8 | $10-$20 |
| Panelized Systems | 15-30 minutes | $2-$5 | $8-$15 |
Removing stone cladding can be hazardous. Follow these safety tips to reduce risks:
Removing stone cladding from drywall can be challenging due to the potential for tearing and damage. Adhesive removal often requires careful scraping and patching the drywall afterward.
Yes, for small or simple installations, DIY removal is possible with the right tools and preparation. However, for large or heavily bonded cladding, professional help is recommended.
DIY costs range from $3-$10 per square foot, while professional services can cost $8-$25 per square foot, depending on complexity.
The ease of removing stone cladding depends on the type of cladding, installation method, and tools used. Mechanically fixed cladding is typically easier to remove compared to adhesive-bonded systems, which can be labor-intensive and time-consuming. With the right preparation, tools, and safety precautions, you can undertake this task effectively, though professional help is advisable for complex projects.
By understanding the intricacies of the removal process, you can make informed decisions and achieve the desired outcome for your renovation or repair project.